This will install the PACTWare 4.1 software as well
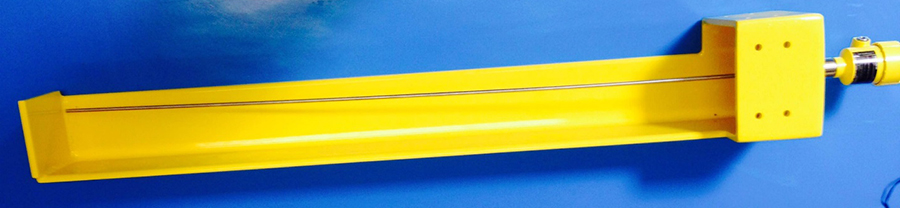
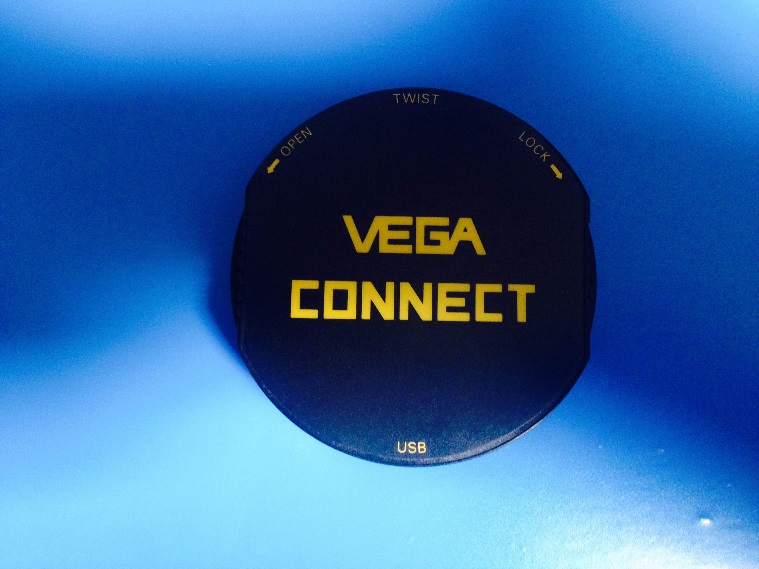
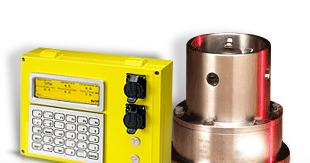
Take off Vega LCD interface and replace with Vega connect interface seen in figure 1. If Vega connect interface is not available you can use any Hart Modem as well.
Figure 1
Install USB from sensor to PC and connect power source to sensor
Run PACTWare 4.1
Click Start. This will connect the sensor
It will give 3 options. Click “extended adjustment”
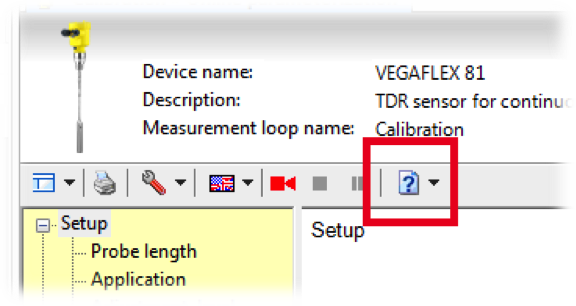
Click drop box for help and click “info about” seen in figure 2. At the bottom where it says license is where you will put in the license given above
Figure 2
Click accept and software set up is complete
Adjust Sensor
Reconnect LCD Vega interface.
Press OK
Press Extended Adjustment
Press setup
Press Application
Press Application
OK and switch to demonstration mode
ESC to front screen.
To change damping we will follow same steps from 10-12
Press Damping. Here you can adjust the time
To change averaging we will start from step 11
Press additional adjustments
Press special parameter
Input SW
Press SP 05. Here you can change the averaging time
The sensor is now ready for a square tank style
Stepped Tank Style
For a Stepped Tank style we will have to change the geometry of the tank in the PACTware 4.1 Software.
Follow steps 2-6
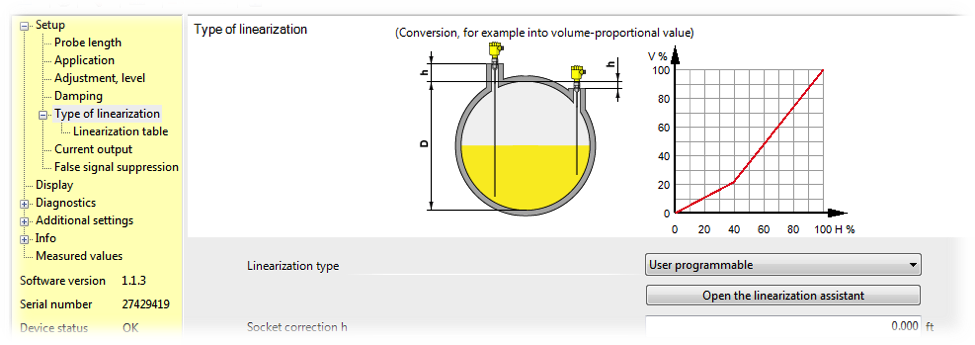
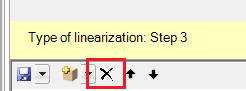
Under setup click on Type of linearization seen in figure 3
Figure 3
Across from linearization type is a drop box. Change this to User Programmable if not in this already.
Under that click on Open the linearization assistant
Change your selection of the linearization to Calculation assistant. Click Next
Change Vessel type to Defragmented tank. Click Next
Under segments click on the symbol or name of pyramid.
Click the delete segment button (X). See figure 4
Figure 4
Now for the 2 Cuboids you can type in your dimensions per schematic.
Change Scaling unit to bbl. Click Next till you get to finish
Click finish
It will update and save to sensor now.
Click the save button located at the top left of screen. This will save the setup in case you would like to place same setup on another sensor.