This tech note describes the process to connect a Rapidlogger System to a laptop or desktop computer. This allows the user to get data from the Rapidlogger System directly to the PC and also allow them to setup and modify the Rapidlogger System setup.
The two programs supplied on the Rapidlogger CD are RapidVu and Rapidlogger Utility. The RapidVu program is used to display and record job data from the Rapidlogger System. The Rapidlogger Utility program is used to setup and modify the Rapidlogger System settings. Both programs communicate with the Rapidlogger System over an Ethernet cable. Setting up the network is essential before either program can be used.
Network Setup
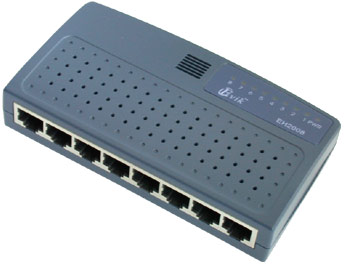
The first step is to connect the Rapidlogger System and the PC to the same computer network. This can be done in one of two ways. Use an Ethernet cable to connect the Rapidlogger System to a network hub and connect the PC to the same network hub with another Ethernet cable.
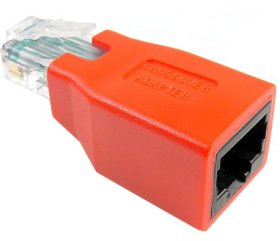
Another way is to use a single cable to connect the PC directly to the Rapidlogger System. You can either use a regular cable with a crossover adapter or a special crossover cable for this purpose. A crossover adapter is shipped with the Rapidlogger System. Do not use both a network hub and a crossover adapter at the same time.
Once the cables are in place change the IP Address of the PC network card to 192.168.0.4. This can be done using the Windows "Local Area Connection" application found in the Windows Control Panel.
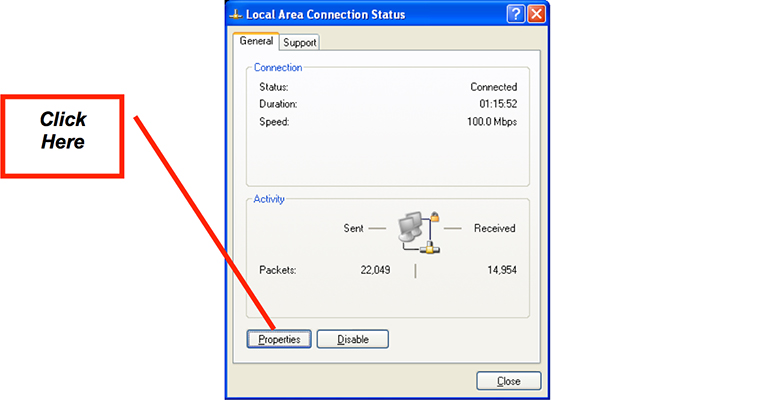
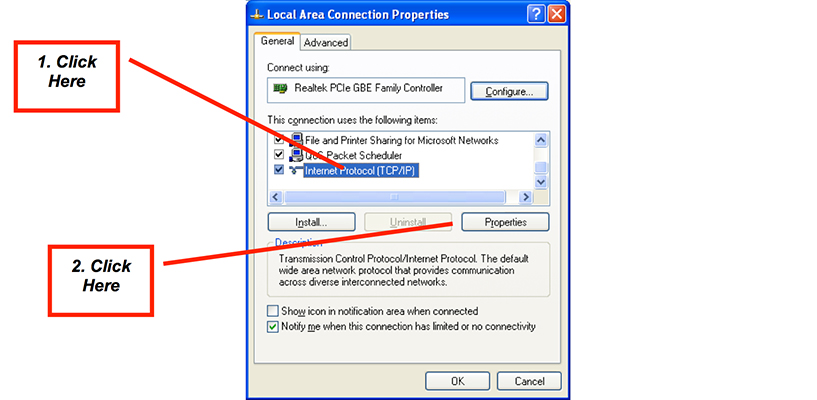
Once the local area connection application is open click on the properties button. A new window will open. Now scroll down to the Internet Protocol(TCP/IP) item and click on the properties button.
Once the Internet Protocol (TCP/IP) Properties window is open, note down the existing setting on paper and then change the settings to look as follows.

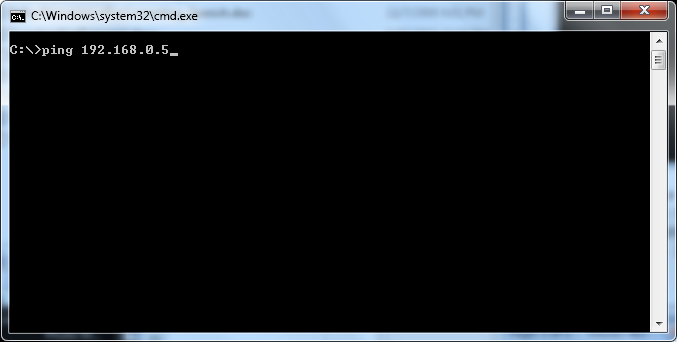
The windows network configuration is now complete. Unless you have previously changed the TCP/IP address on the Rapidlogger System it should already be setup to 192.168.0.5 address. Use the ping command from the windows command prompt to test the network connection. Type “ping 192.168.0.5” at the command prompt as shown below.
If a reply is received and a message such as “Reply from 192.168.0.5 ..” is seen then the network setup has worked. If the message “Request timed out” appears then the network setup has not succeeded and you need to request a local computer expert user to help set it up.