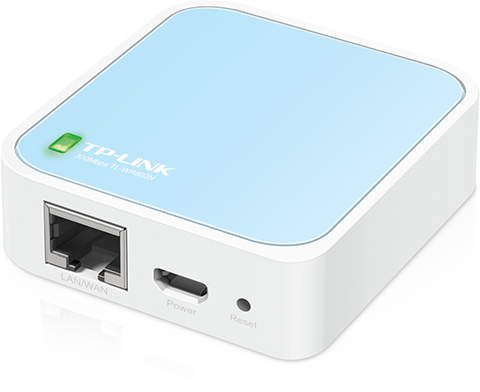
TL-WR802N N300 Nano Wireless N Router
This tech note describes how to setup the TP link Wi-Fi access point and connect it with the Rapidlogger System. This will allow you to wirelessly communicate between your Rapidlogger System and computer.
Equipment Needed
- TL-WR802N N300 Nano Wireless N Router
- 1 Ethernet cord
- 1 5V power supply
Standard Setup (Rapidlogger is Access Point)
- Connect the Nano Router with its 5V supply.
- Using WIFI connectivity connected the Nano Router with a Computer.
- Use the pin number written on the box to make connection with the SSID shown on the Router box.
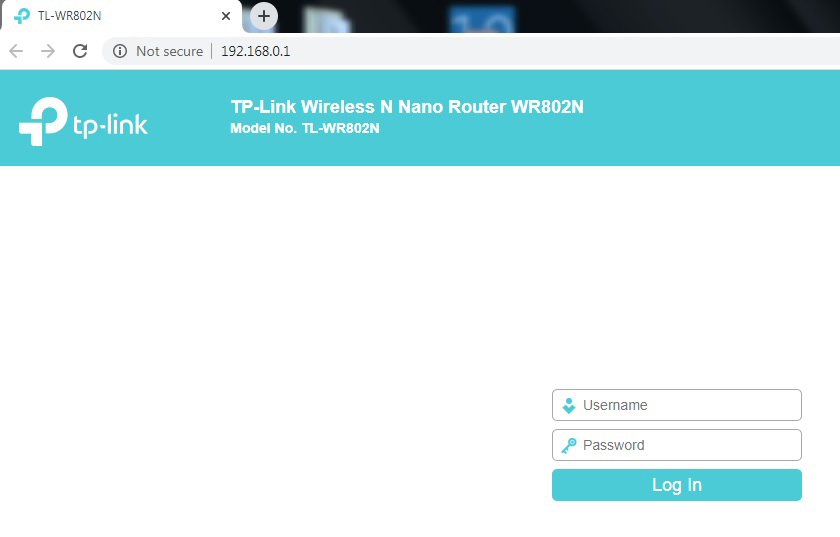
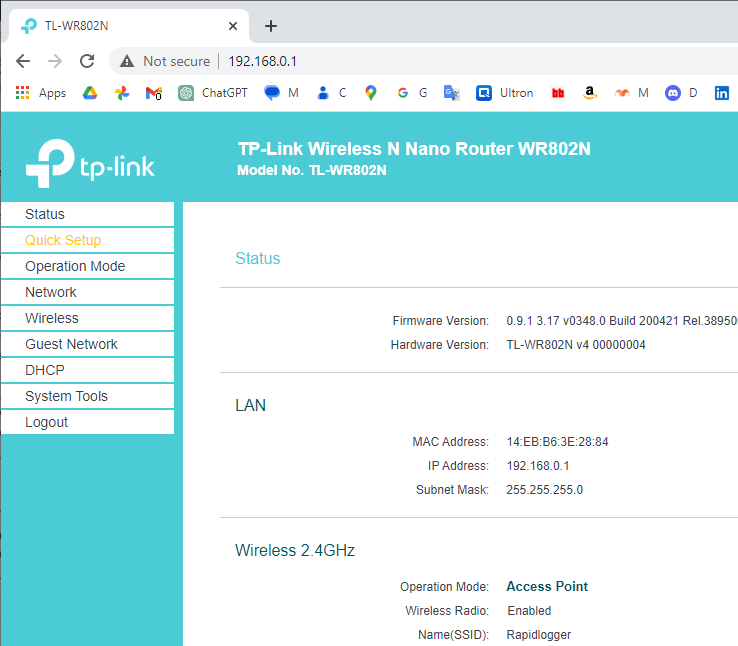
- Open browser and connect by 192.168.0.1
- Use admin as ID and password to enter setup.
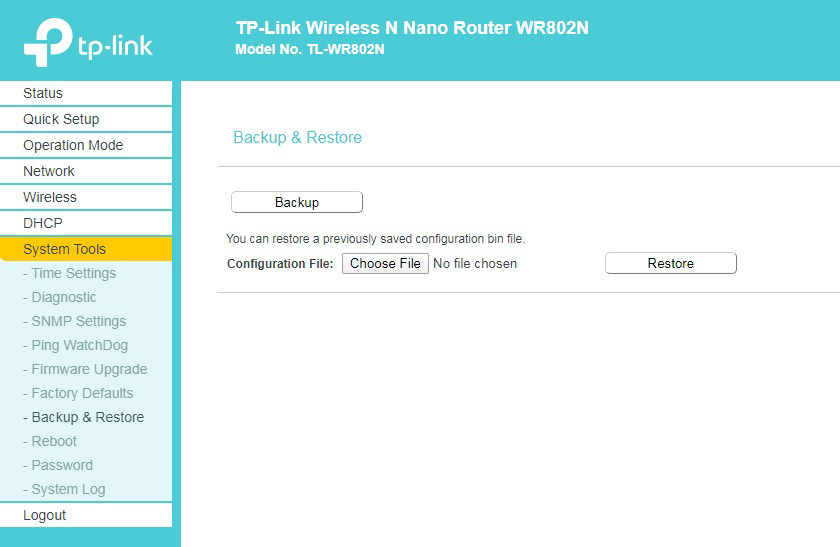
- Go to System tools and Upload file (Choose file) TP_Link_RapidloggerWR802NCon13Nov2019 in the Configuration file, press restore.
- Once the configuration file is successfully uploaded the browser takes you to homepage of router.
Setup as Client (Rapidlogger connects to external WiFi AP)
Connecting the AP (Access Point)
- Connect the Nano Router with its 5V supply.
- Using WIFI connectivity connected the Nano Router with a Computer.
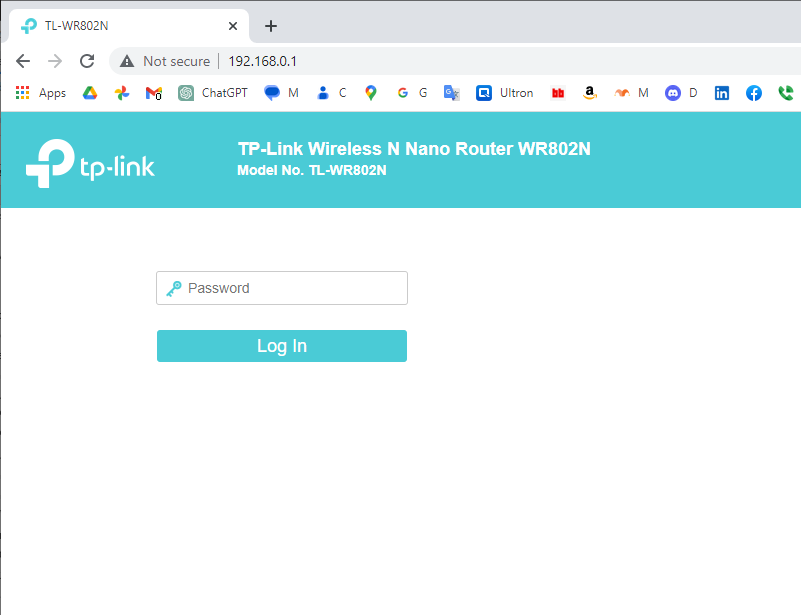
- Log in to the Router using password “Admin”
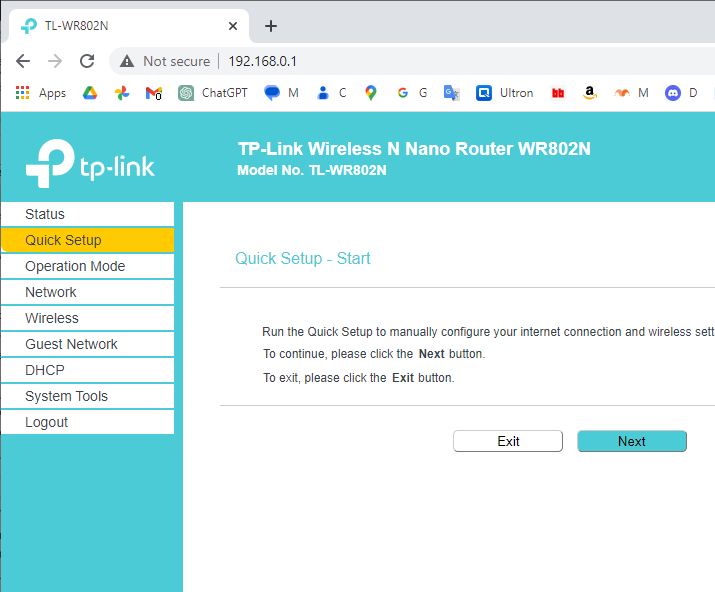
- In the next screen use click on the Quick Setup menu item
- Click on Next
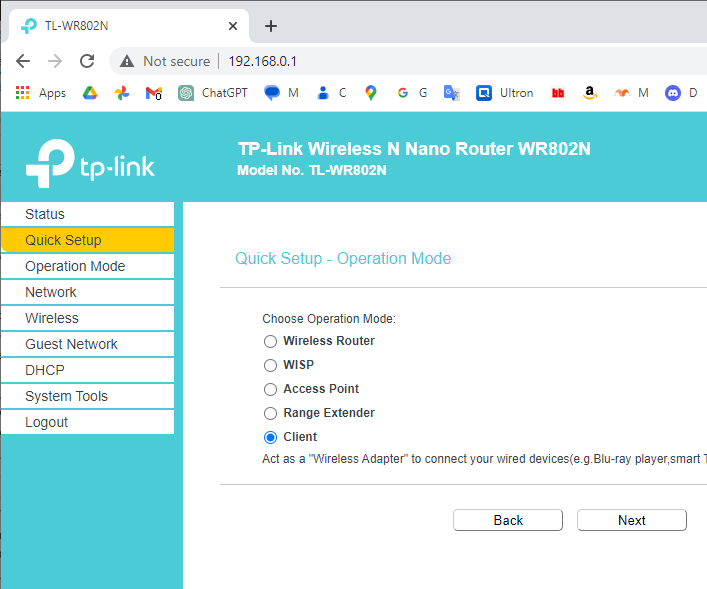
- Next select the “Client” Option
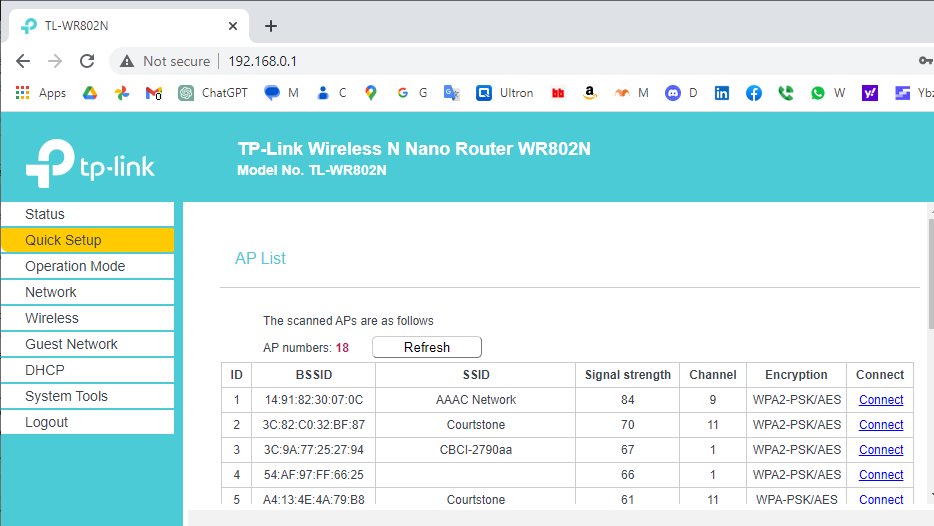
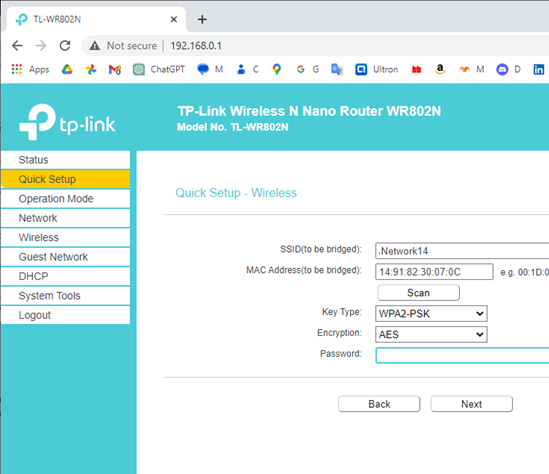
- This will result in a list of available networks being displayed
- Connect to the network you want to use and enter its password.
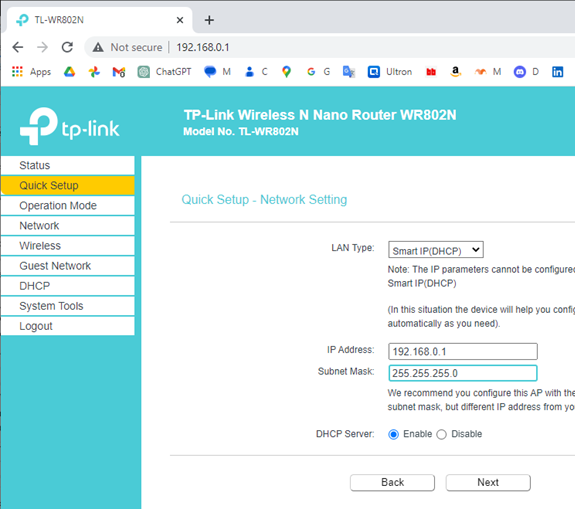
- Select “SmartIP” or “DHCP” and enable the DHCP server. This will now allow the Rapidlogger to connect to the TL-WR802N via the ethernet cable and make a connection with your company’s WiFi Accesspoint.
- Do note that you must set a fixed IP address for the Rapidlogger on your company’s WiFi Access-point OR alternately block out a range of IP addresses for the Rapidlogger to use.
- If your company’s WiFi Access point does not use the IP address range of “192.168.0.XXX” then you will also need to change the IP address of the Rapidlogger Unit from its front panel or the Rapidlogger Netburner IPSetup utility to match the IP address range of the WiFi Access-point.
- Click next to complete the setup and then click finish on the next page.
- The Mini router will now reboot and change modes to a client settings. Once this is complete please restart the Rapidlogger and the TL-WR802N to ensure that all setting have been saved and the connection works.